How do I design a custom hat? If you’re just getting started with your custom hat, this question is probably at the top of your mind. There’s no one perfect way to do it, but there are some common processes to follow and ideas to keep in mind. From beanies to baseball caps, following our process below will help you make the best custom hat for any wearer and occasion.
Picking a Website to Design Custom Hats On
Before you can get to the actual creating part, you need to pick a website to actually design the hat. You’ll want to pick one that is both quick and easy to use, and ideally has expert support in case you want help with any part of it.
- The more customization options, the better. For example, look for lots of color options, text customization, and art already available to pick from.
- Ones that let you upload your own design are best if you already have a logo to work with.
- Websites with templates are great, especially for hat designing novices.
- Keep In Mind: Shipping speed matters. Ideally, go for a website that can deliver within 2 weeks and has a rush service option available.
Steps to Design Your Custom Hat:
Looking for a guide on designing a custom hat? We’ve got you covered, and have summarized the essential steps below:
Step 1: Know Your Audience
- Let the wearer be the guiding force for you as you design your custom hat.
- For a more formal audience, like a workplace, pick something that is both comfortable and bold.
- For a casual audience, like a family gathering, focus on comfort first.
Step 2: Decide When You Need Your Hats
- 2 Weeks or Less: Speed is key – keep things simple, use an existing logo if you can, and be sure to take advantage of rush-service options.
- 1-2 Months: Take advantage of professional design services to make sure you’re using high-quality art.
- Over 2 Months: Start designing now, and spend time getting the details right. Be sure to consider how the logo will be applied to the hat.
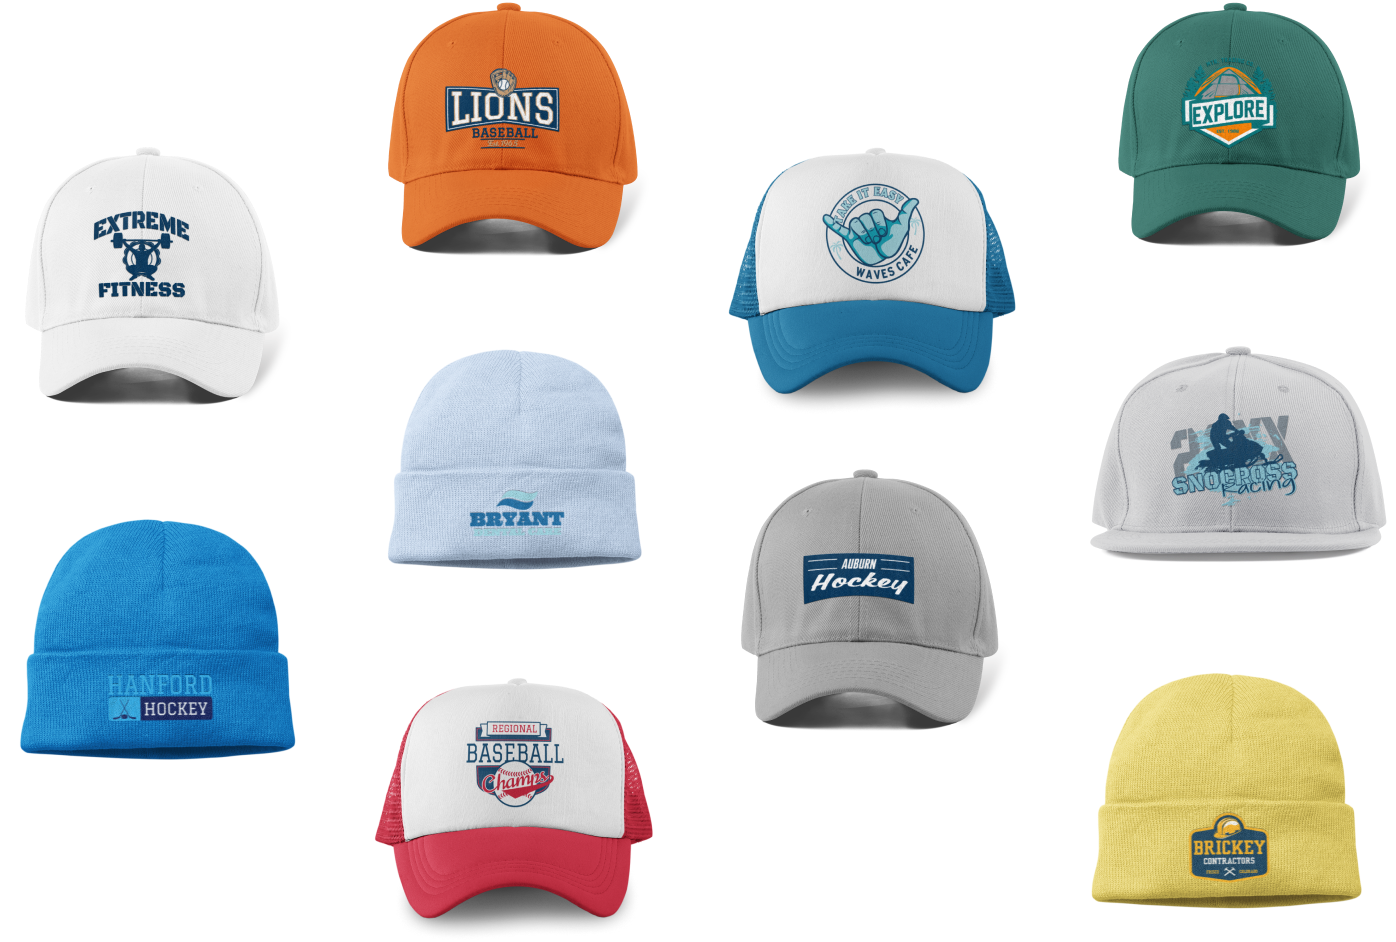
Step 3: Pick a Custom Hat Style
- Baseball caps – A jack-of-all-hats, this is a great one to start with.
- Dad hats – These are best for a casual crowd.
- Flexfit – With its adaptable size, Flexfits are good for active occasions.
- Trucker hats – Prominent logo displays and great breathability make these great for outdoor events.
- Snapbacks – These are similar to the trucker hat, but with an adjustable size.
- Beanies – Beanies are pliable and great for cold weather.
Step 4: Design Your Logo
- Size – Since this logo is going on a hat, it may be smaller than a typical logo.
- Shapes – Highly detailed or intricate shapes may not show up clearly.
- Text – Avoid writing out too much, and use a large, legible font.
- Placement – Make good use of the hat’s crown to attract attention.
Step 5: Pick Background Colors
- Complimentary background colors will make your logo pop.
- Monochromatic background colors keep the whole hat in harmony.
- Analogous colors strike a good middle ground.
- In any case, make use of a color wheel to get an idea of how things will look together.
Step 6: Send in Your Order
- You’re done with the design phase – congrats!
- If you designed your hat on a website, you can probably order directly from there.
- Check if there are discounts for buying in bulk!
Pro Tips for Designing Your Custom Hat Logo:
The logo is the first thing people will notice when they see your custom hat, so that’s where you’ll want to spend the majority of your time. Take advantage of these pro tips to make sure your custom logo is a good fit on your hat:
Pro Tip 1: Simpler = Better
- A hat is not a billboard – don’t design a logo that only looks good when it’s huge!
- On hats, simple shapes and small amounts of text work better than intricate designs.
- When designing the logo, try to scale it down to the actual size it will be on the hat.
Pro Tip 2: Consider Logo Print Method
- Screenprinting Pros: Long-lasting and cost-effective for large orders.
- Screenprinting Cons: Expensive for small orders, and not super detailed.
- Embroidery Pros: Professional, classic look with durability.
- Embroidery Cons: Loses fine detail in images.
- Patch Pros: Highly customizable, and gives your logo a 3D element.
- Patch Cons: Higher cost, and potentially limited colors.
- Heat Transfer/DTF Pros: Affordable and can provide special finishes
- Heat Transfer/DTF Cons: Less breathable and durable than other options.
Pro Tip 3: Keep Emotions In Mind
- Different shapes and colors provoke different emotions in us.
- Typefaces affect emotions, too – pick one that matches your brand.
- Look into Color Psychology and conduct additional research to figure out what will be a good fit for your logo.
Pro Tip 4: Get Feedback
- Feedback from the people who’d potentially be wearing it can tell you if you’re going in the right direction.
- Other people may have ideas or insights that wouldn’t have occurred to you.
- Professional designers can either create your logo from the ground up or polish something that you’ve put together yourself.
Custom Hat Design Summary
Making a custom hat is easy when you follow the above steps. To summarize:
- Find a website to design on.
- Figure out your audience.
- Figure out when you need the hats.
- Decide on a hat style.
- Design your logo, with our pro tips in mind.
- Finalize background colors.
- Submit your order.
Design Your Custom Hat with Hat.Co Today
Hat.Co offers an all-in-one place to make your hat using existing templates and designs, upload your own logo, and/or work with professionals to make sure everything is right. And once you’re done creating the hat, we’re ready to print it and ship it to you within 2 weeks.
Start designing your custom hat today, and call us at (636) 926-2777 or get a quote online if we can help you with anything along the way.